
How to use the Move Containers feature in 2D Bay View
Use this guide to move containers in 2D Bay View and update the BAPLIE data to match. You can load new containers, load generic empties (empty containers with general details), unload containers, re-stow containers (move them to a new position) and shift containers on board.
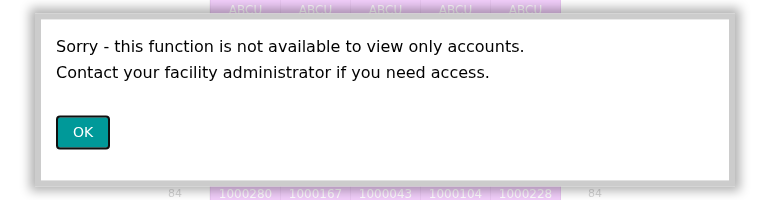
Before you start: open your file. Move mode needs the Vessel Operations add-on for your facility (it shows as Vessel Operations Enabled in the facility general information). You also need Admin or Edit permission, and your account must not be expired. A view-only user sees the message Sorry - this function is not available to view only accounts. and must ask the facility administrator for access. Click here to learn about membership types and how to upgrade your membership.
Note: on a touch screen that is narrower than 900 pixels, a window says that Move and Edit modes are not prepared for mobile devices unless you connect a pen or mouse.
Open Move mode
Section titled “Open Move mode”- After you upload a file on baplieviewer.com, open Visualization in the Function Menu on the left. Click 2D Bay View. A new tab opens with a picture of your BAPLIE data.
- In the top bar, open the Mode list (1 in the picture). It shows View. Choose Move.
- The view control in the top bar must show Single Bay or Mini Bays. You can select containers only in these two views.
- The bar Container Actions shows below the top bar (2 in the picture). It has these buttons: Load New, Load Generic Empties, Unload, Re-Stow, Shift-On-Board, Correct Position and Print Bay Plan. Load New and Load Generic Empties are active at the start. The other buttons become active when you select containers.
- The panel Containers to move opens at the right edge of the screen. It shows the number of containers in its title. It is empty at the start.
- The status bar at the bottom of the screen shows a hint: “Please select containers, then click on ‘Unload’ or ‘Re-Stow’ to move them.”

If the file has containers with wrong positions that are not yet in the list, a window opens each time you enter Move mode. It says “There are N containers with wrong positions.” and asks “Do you want to add them to the ‘Containers to Move’ list?”. Click Add them to the list to add them, or NO to skip them. To fix wrong positions, see How to use the Correct Positions Feature.
This guide describes Load New, Load Generic Empties, Unload, Re-Stow and Shift-On-Board. To print a plan of the selected containers, see How to print a sequence bay plan from 2D View.
Note: while a Re-Stow, Load New or Load Generic Empties action is open, you cannot change the Mode or the language. A window says “Please finish or cancel the current process before changing Mode.” Click × CANCEL or finish the action first.
Select containers
Section titled “Select containers”Unload, Re-Stow, Shift-On-Board and Correct Position work on the containers that you select. You can select containers in these ways:
- Click a container. Click it again to remove it from the selection.
- Drag a rectangle over many containers. This works in Single Bay and in Mini Bays. Drag over selected containers to remove them. After a drag over more than one container, the window Add selection to list: opens. Choose the order of the containers in the list: Order by Tier or Order by Stack, and then Left to Right, Right to Left, Center Out L-R or Center Out R-L. Click →Sequence and add. A single click on one container adds it at once.
- Click a value in the panel Color & Filter. For example, click one port of discharge (POD). A window Add to the selection says “N containers match the filter and will be added to the selection (S already selected).” Click YES. In Single Bay view only the containers of the current bay count. In other views the containers of all bays count. For this panel, see How to use Color by, filters and the information panels.
- Search for a container. Type the container ID in the box Search in the top bar and press Enter. The search finds every container whose ID contains your text. If the search finds more containers than you typed, a window asks “N containers will be added. OK?”.
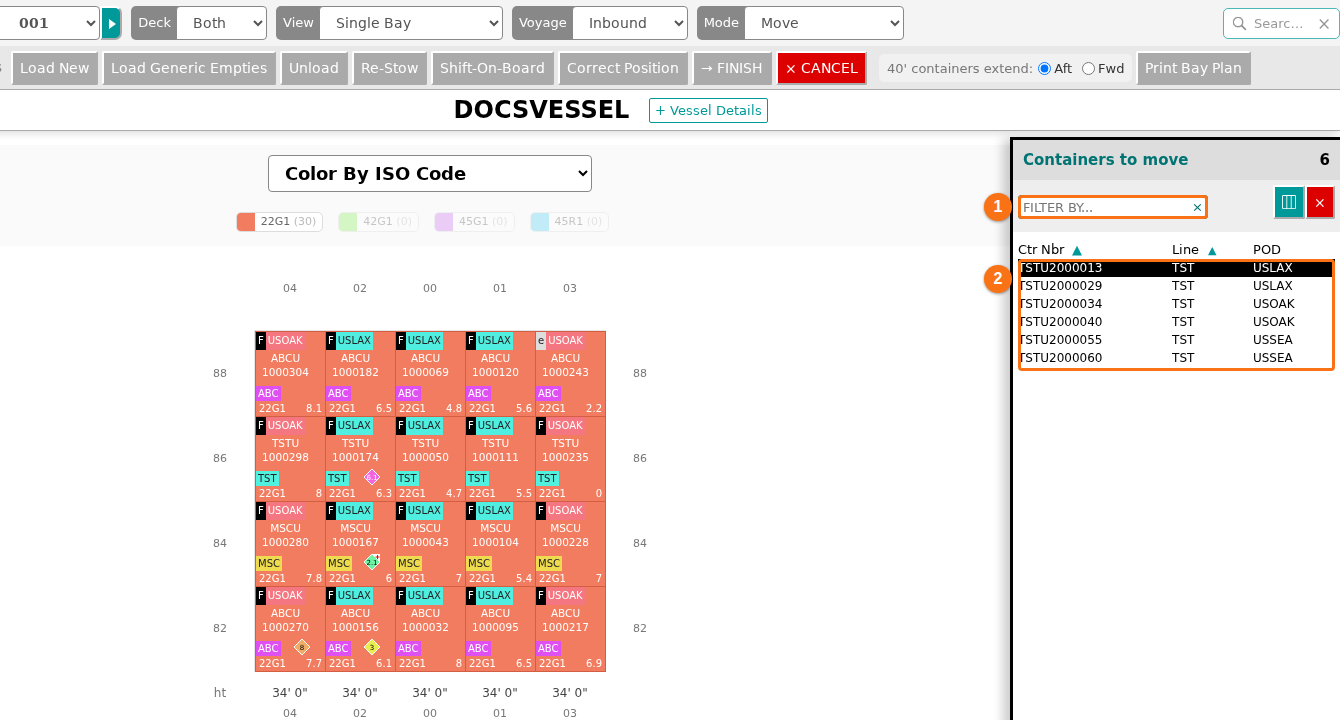
Each selected container gets a number in the bay (1 in the picture) and shows in the Containers to move panel (2 in the picture). All other containers turn grey.
If a slot holds more than one container, a window “Please select which containers” shows a tick box for each one. Tick the ones you want.
In the Containers to move panel you can also:
- Click Resequence to change the order of the list. It has the same eight orders as the window above. Resequence is not active when the selection has containers in more than one bay, or in two bays that are not next to each other.
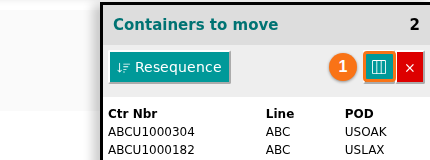
- Click the columns icon (Select fields) to choose the columns of the list. You can choose up to four. The container ID is always shown.
- Click the red x (CLEAR ALL) to remove all containers from the list. A window asks “Are you sure you want to clear the selection?”.
Note: you cannot select containers in the Side and Deck views. If you drag there, a message tells you to switch to Single Bay or Mini Bays.
Load new containers
Section titled “Load new containers”You can add new containers to the current BAPLIE file in two ways. You can enter the data yourself, or you can use data from another BAPLIE file that you uploaded. Load New is not active while containers are selected. A window says “Please clear the current selection before adding containers.”
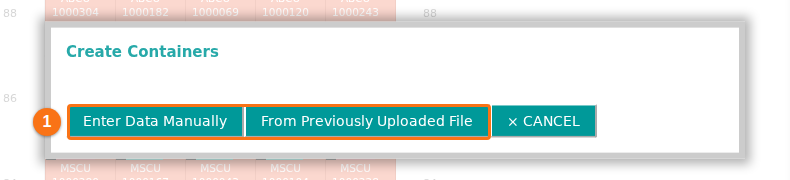
- Click Load New. The Create Containers window opens. It has the buttons Enter Data Manually and From Previously Uploaded File (1 in the picture).
Enter the data yourself
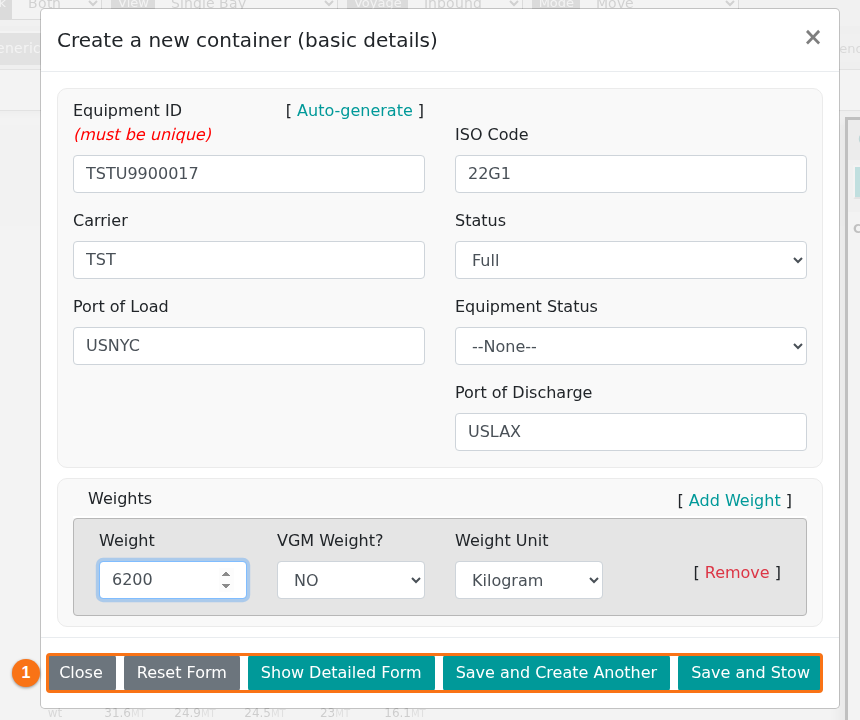
Section titled “Enter the data yourself”- Click Enter Data Manually. The basic version of the form opens. Its title is Create a new container (basic details). The Equipment ID must be unique. The Auto-generate link next to this field can fill in an ID for you. The form has these buttons at the bottom (1 in the picture): Close, Reset Form, Show Detailed Form, Save and Create Another and Save and Stow.
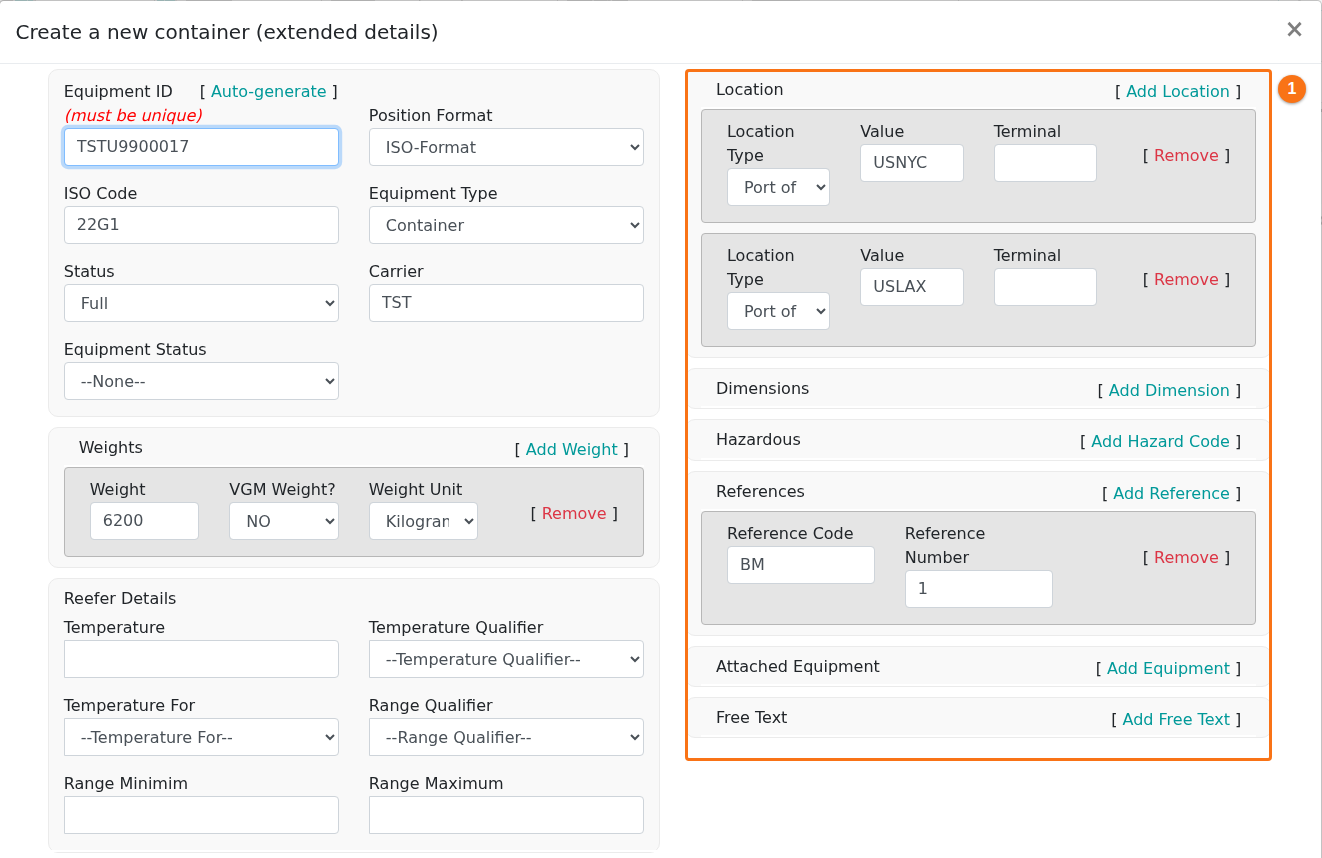
- To see all the details you can add for a container record, click Show Detailed Form. The form Create a new container (extended details) opens. It has more fields on the left (for example Position Format, Equipment Type and Reefer Details). The sections on the right (1 in the picture) are Location, Dimensions, Hazardous, References, Attached Equipment and Free Text.
-
Fill in the form. Then click one of these buttons:
- Save and Stow – use this to add one container.
- Save and Create Another – use this to add many containers. The form keeps all the information you entered and clears only the Equipment ID.
The new container goes to the Containers to move panel on the right.
Use data from another file
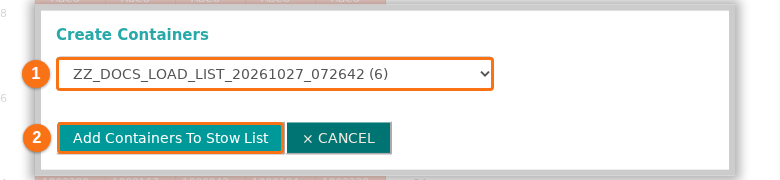
Section titled “Use data from another file”- Click From Previously Uploaded File. Choose the file in the list (1 in the picture). The number in brackets after the file name is the number of containers in the file. Click Add Containers To Stow List (2 in the picture).
- The containers of the file are added to the Containers to move panel on the right (2 in the picture). If the other file has no container that can be added, a message says “The file doesn’t have containers that can be added to the list”. If the file has many containers, type an equipment ID in the box Filter by id… (1 in the picture) to find the container you need.
Put the containers in the bay and finish
Section titled “Put the containers in the bay and finish”- Put each container in an empty slot. See “Put the containers in the bay” below.
- When all containers are in the bay, click → FINISH in the bar Container Actions. You are asked to confirm that you want to update the BAPLIE file.
To cancel: click × CANCEL in the bar Container Actions.
Put the containers in the bay
Section titled “Put the containers in the bay”You use these steps for Load New, Load Generic Empties, Re-Stow, Shift-On-Board and Correct Position. The containers that you must place are in the Containers to move panel.
- Optional: click one container in the list. It is placed first. If no row is highlighted, the application places all containers of the list, one after the other, in the order of the list. A hint at the bottom of the screen reminds you: select the containers in the list, then select their new positions in the bay (in empty slots).
- Click an empty slot in the bay. The container goes there.
- To put many containers at once, drag a rectangle over many empty slots. A window Stow selected containers: opens with the same order choices as the selection window. Choose the order and click →Sequence and stow.
- To use another bay, use the Bays list in the top bar or the arrows next to it.
- To take a container back to the list, click its slot again.
Good to know:
- A slot is empty when it has no container. A slot is also empty when its container is in your selection, because you are moving it.
- Slots that are not empty are skipped. The application shows no message. If no slot is empty, nothing happens.
- A 40 ft container uses two bays: an odd bay and the even bay next to it. You click in the odd bay. The choice 40’ containers extend shows while an action is open. Aft is the default and uses the bay number plus 1. Fwd uses the bay number minus 1.
- To change the fields that the list shows, click the turquoise columns icon above the list (1 in the picture). It is next to the red X.
Load generic empties
Section titled “Load generic empties”Load Generic Empties is not active while containers are selected. A window says “Please clear the current selection before adding empty containers.”
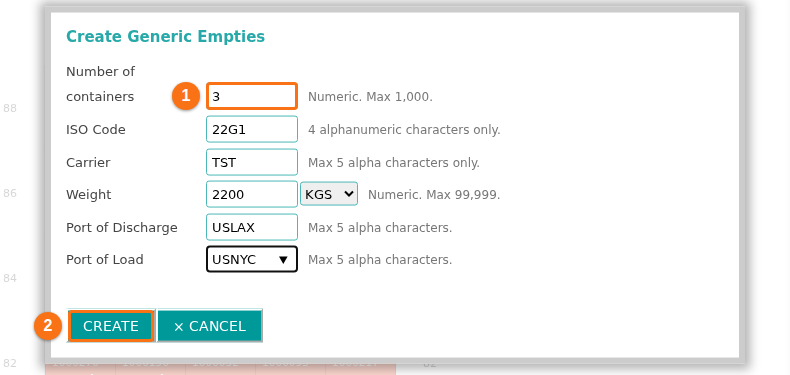
- Click Load Generic Empties. The Create Generic Empties window opens.
- Fill in the fields. Then click CREATE (2 in the picture). The text next to each field shows its limit. Click in a field to see values that the system takes from your BAPLIE file.
- Number of containers (1 in the picture): a number. The maximum is 1,000.
- ISO Code: 4 letters or digits.
- Carrier: up to 5 letters.
- Weight: a number. The maximum is 99,999. The window shows the unit.
- Port of Discharge and Port of Load: up to 5 letters.
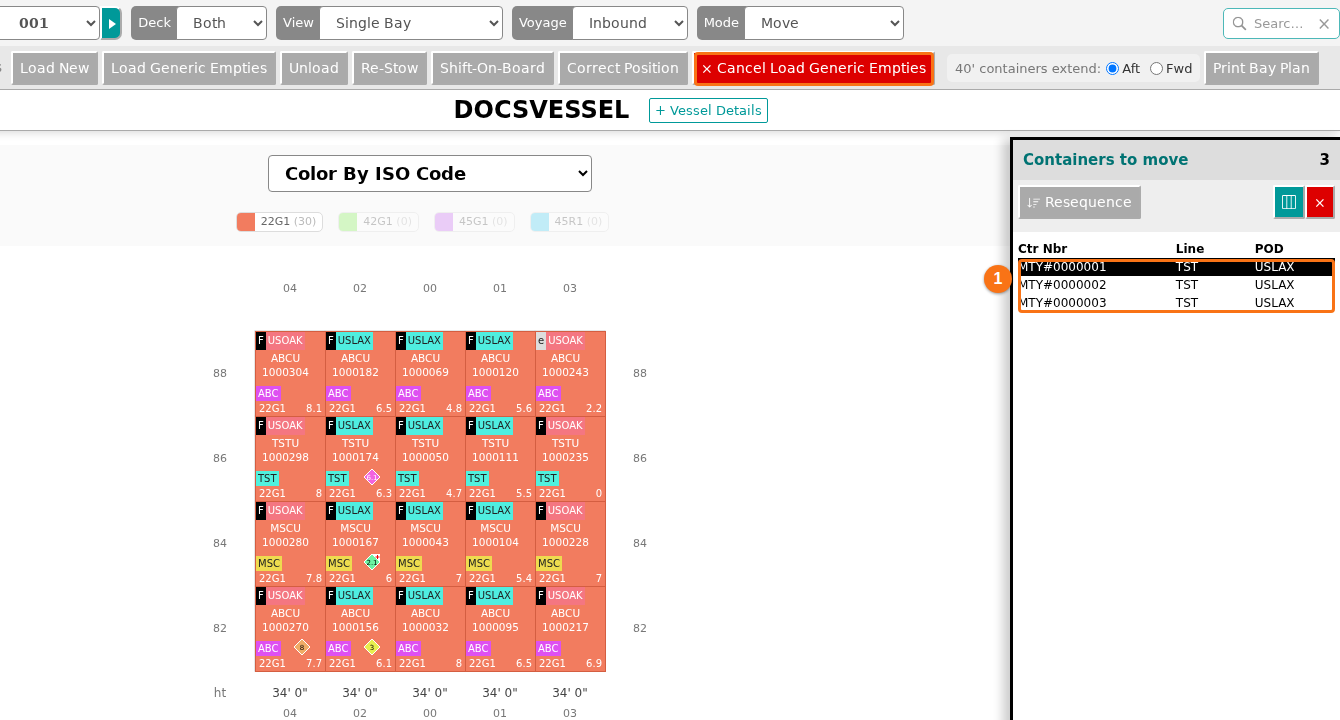
- The empties show in the Containers to move panel (1 in the picture). Their IDs start with MTY#. Put each container in an empty slot. See “Put the containers in the bay”.
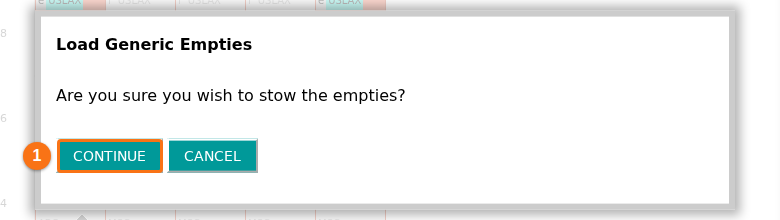
- When all containers from the list are in empty slots, the Load Generic Empties window asks “Are you sure you wish to stow the empties?”. Click CONTINUE (1 in the picture) to finish.
To cancel: click × Cancel Load Generic Empties in the bar Container Actions (boxed in the picture above).
Unload containers
Section titled “Unload containers”- Select one or more containers. See “Select containers”. Each selected container gets a number in the bay (1 in the picture) and shows in the Containers to move panel (2 in the picture). All other containers turn grey.
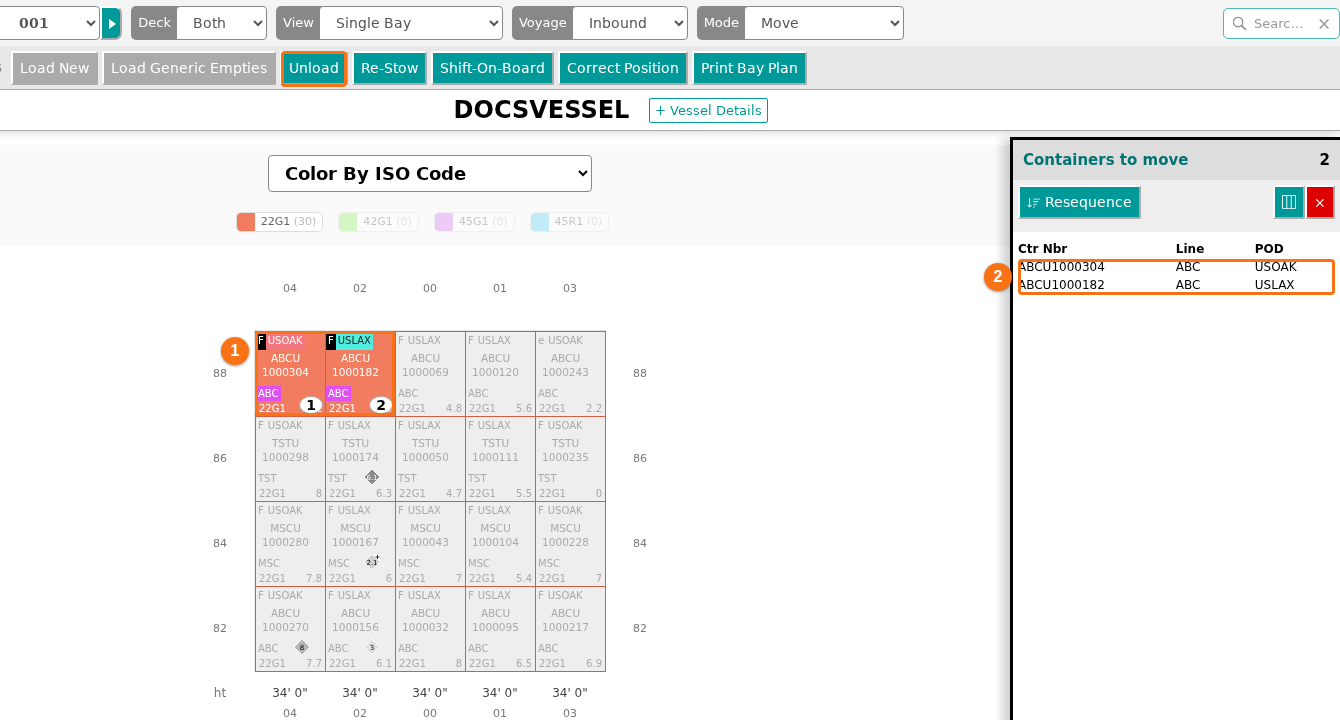
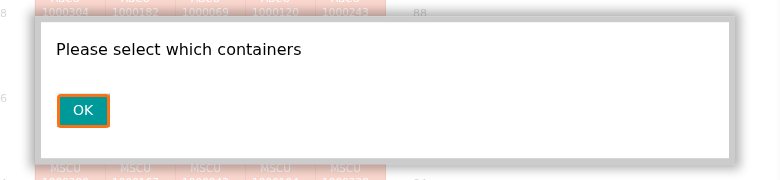
If you click Unload and no container is selected, a window says Please select which containers. Click OK, then select the containers.
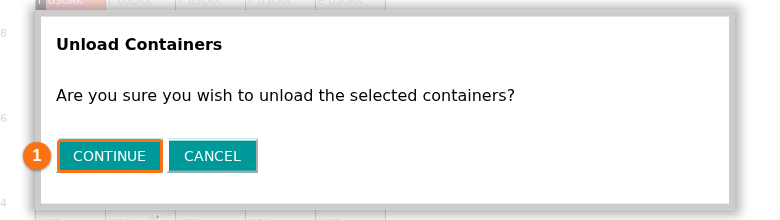
- Click Unload. A window asks “Are you sure you wish to unload the selected containers?”. Click CONTINUE (1 in the picture). This removes the selected containers from the BAPLIE file.
If the data cannot be saved, a message says “An error has occurred when saving the data.”
Re-stow containers
Section titled “Re-stow containers”- Select one or more containers, as in step 1 of “Unload containers”.
- Click Re-Stow. The selected containers disappear from their slots in the 2D view (1 in the picture). They show in the Containers to move panel (2 in the picture). The buttons × CANCEL and → FINISH show in the bar Container Actions, and so does 40’ containers extend.
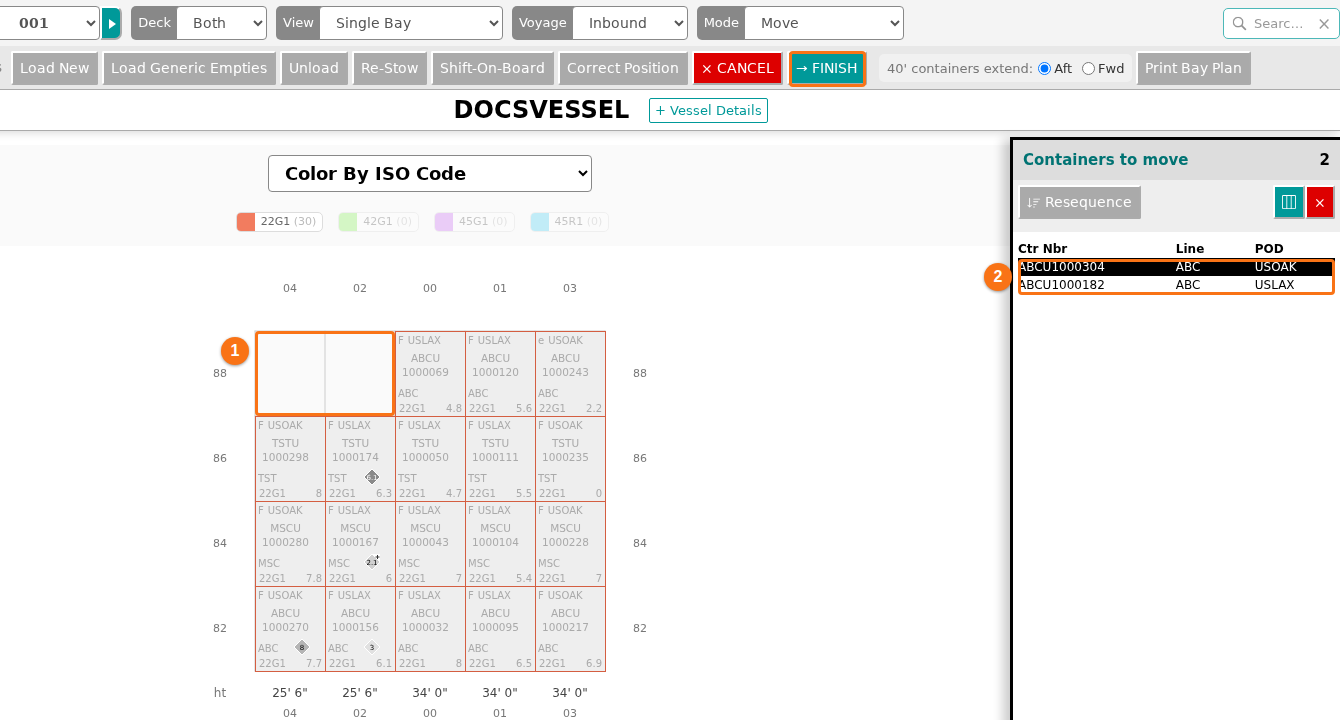
- Put each container in an empty slot. See “Put the containers in the bay”.
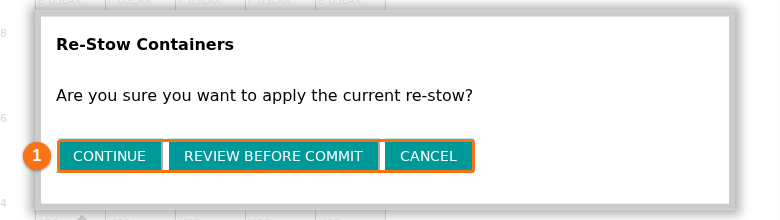
- After you put the last container in a new position, a window asks “Are you sure you want to apply the current re-stow?”. It has three buttons (1 in the picture):
- CONTINUE – apply the re-stow.
- REVIEW BEFORE COMMIT – close the window and check the changes one more time. When you are ready, click → FINISH to apply the re-stow.
- CANCEL – discard the changes.
Note: for Re-Stow, you must put all containers in the bay before you finish. If you click → FINISH too early, a window Finish Action says “You need to stow all the containers before finishing.”
Shift containers on board
Section titled “Shift containers on board”Use Shift-On-Board to move containers inside one bay. It works like Re-Stow. The difference is the move that is recorded: Re-Stow records a restow move, and Shift-On-Board records a shift move.
- Select the containers. They must all be in one bay. If they are in more than one bay, a window says “Containers cannot be shifted from many different bays. Please select containers from only one bay.”
- Click Shift-On-Board.
- Put the containers in empty slots of the same bay. See “Put the containers in the bay”. If you try to put a container in another bay, a message says “Containers can only be shifted in the same bay.”
- After the last container is placed, a window asks “Are you sure you want to shift the current positions?”. Click CONTINUE, REVIEW BEFORE COMMIT or CANCEL, as for Re-Stow.
With Shift-On-Board you can click → FINISH when some containers are still in the list. These containers stay where they are.
Correct positions
Section titled “Correct positions”Correct Position works like Re-Stow, but it only changes the stored position of a container. It does not record a move. You can also finish with some containers not placed. The end window says “Are you sure you want to update the current positions?”. For the full steps, see How to use the Correct Positions Feature.
What the application saves
Section titled “What the application saves”- Each action changes your file when you confirm it in the end window, not before.
- The Containers to move list is not saved. If you reload the page before you confirm, the list is empty.
- Move mode pauses the automatic refresh of the file.
Download the changes
Section titled “Download the changes”After you move containers, you can download the changes as an updated BAPLIE file.
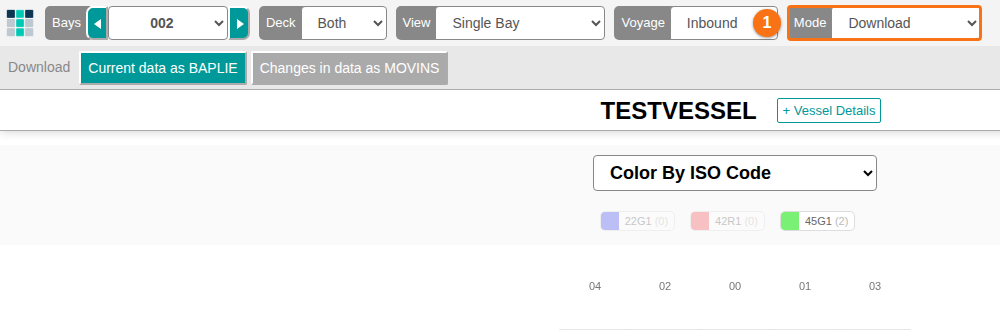
- In the Mode list at the top of the screen (1 in the picture), choose Download.
- Click Current data as BAPLIE. The file downloads in the same BAPLIE version as the file you uploaded.
The other button is Changes in data as MOVINS. It is active after you confirm at least one move. For the MOVINS file and the Operations List, see How to download 2D changes as MOVINS and print the Operations List.