

How to print or download the full bay plan in 2D Bay View
Use this guide to print the whole vessel, or download it as a PDF. You use Mini View PDF in the Print PDFs menu of the 2D Bay View. A second way, with Bay View PDF, prints every bay on its own page.
Before you start: open your file.
Print the whole vessel (Mini View PDF)
Section titled “Print the whole vessel (Mini View PDF)”- After you upload a file on baplieviewer.com, open Visualization in the Function Menu on the left. Click 2D Bay View. The screen shows the vessel bay by bay.
- Look at the menu bar at the top. The first bay of the file shows, and Mode is View.
- Optional: to color the plan by a field (ISO code, port of discharge, size and so on), choose the field in Colour by in the Color & Filter panel first. For example, choose ISO Code. The PDF uses this color and shows its legend. If you clicked values in the panel, only the containers that match keep their color.
- In the View bar, click Print PDFs. Then click Mini View PDF.
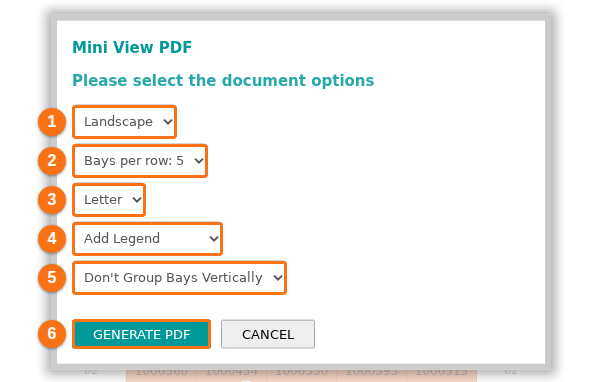
- The Mini View PDF window opens with the text Please select the document options. Choose the options in the five lists (1 to 5 in the picture):
- The paper orientation: Landscape or Portrait. The default is Landscape.
- The number of bays in each row, from Bays per row: 1 to Bays per row: 8. The default is Bays per row: 5.
- The paper size: Letter, Legal, A4 or A3.
- The legend: Add Legend or Don’t Add Legend.
- The grouping of bays: Don’t Group Bays Vertically or Group Bays Vertically. The list starts with the setting of the Group bays vertically check box on the screen.
- If your facility has a logo, a sixth list shows: Add Logo or Don’t add Logo.
- Click GENERATE PDF (6 in the picture).
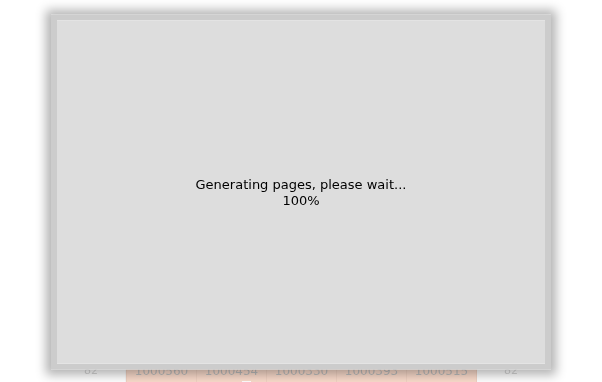
- Wait while the system makes the PDF. The window shows Generating pages, please wait… and the progress in percent.
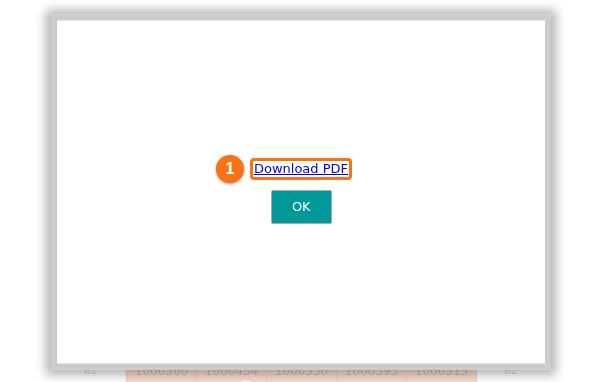
- Click Download PDF (1 in the picture). Click OK to close the window.
- Open the PDF that you downloaded. It looks like this picture. The page shows the vessel name, Mini View, the legend and the bays in rows. Above deck is at the top of each bay and below deck is at the bottom.
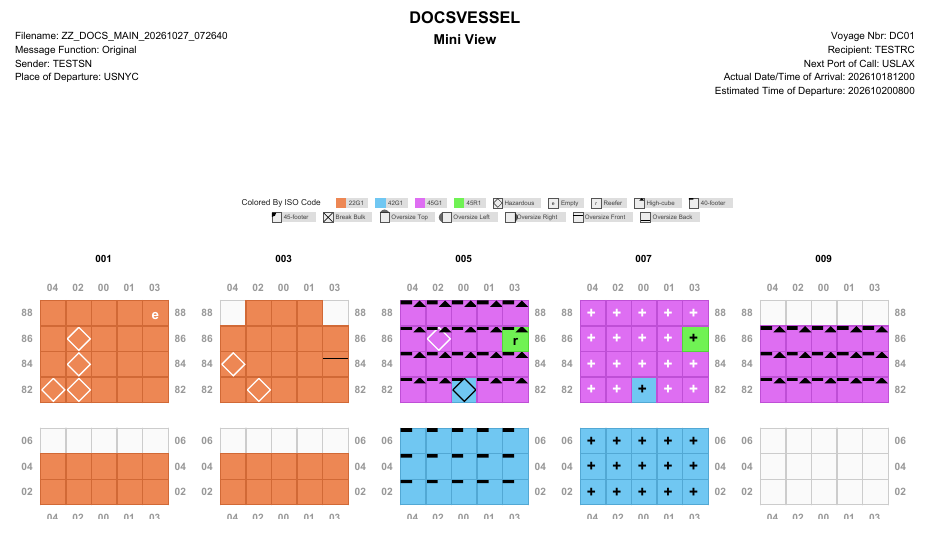
The Mini View PDF always has all the bays of the file. If the bays do not fit on one page, the PDF has more pages. When Colour by has a field, the last page is a table with the title Counts by size and status. It counts the containers for each value of the field.
Print every bay on its own page (Bay View PDF)
Section titled “Print every bay on its own page (Bay View PDF)”Use this way when you need the container numbers of every bay.
- In the Mode list, keep View. Click Print PDFs and then Bay View PDF.
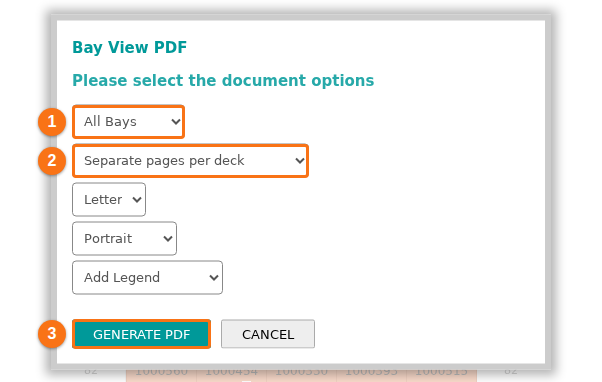
- In the Bay View PDF window, choose All Bays in the first list (1 in the picture).
- In the second list, choose Separate pages per deck (2 in the picture). Choose the paper size, the orientation and the legend as you like.
- Click GENERATE PDF (3 in the picture). When the PDF is ready, click Download PDF. Click OK to close the window.
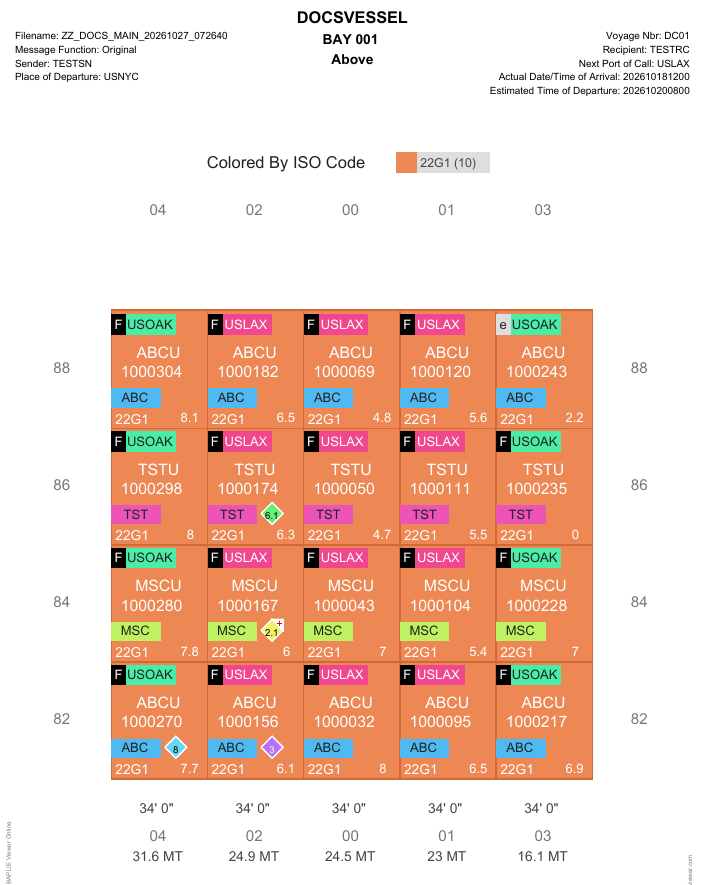
- Open the PDF. It has one page for each bay and deck. The top of the page shows the vessel name, the bay and the deck, for example BAY 001 and Above.
For all the options of Bay View PDF, see How to print a specific bay in 2D Bay View.